T W C
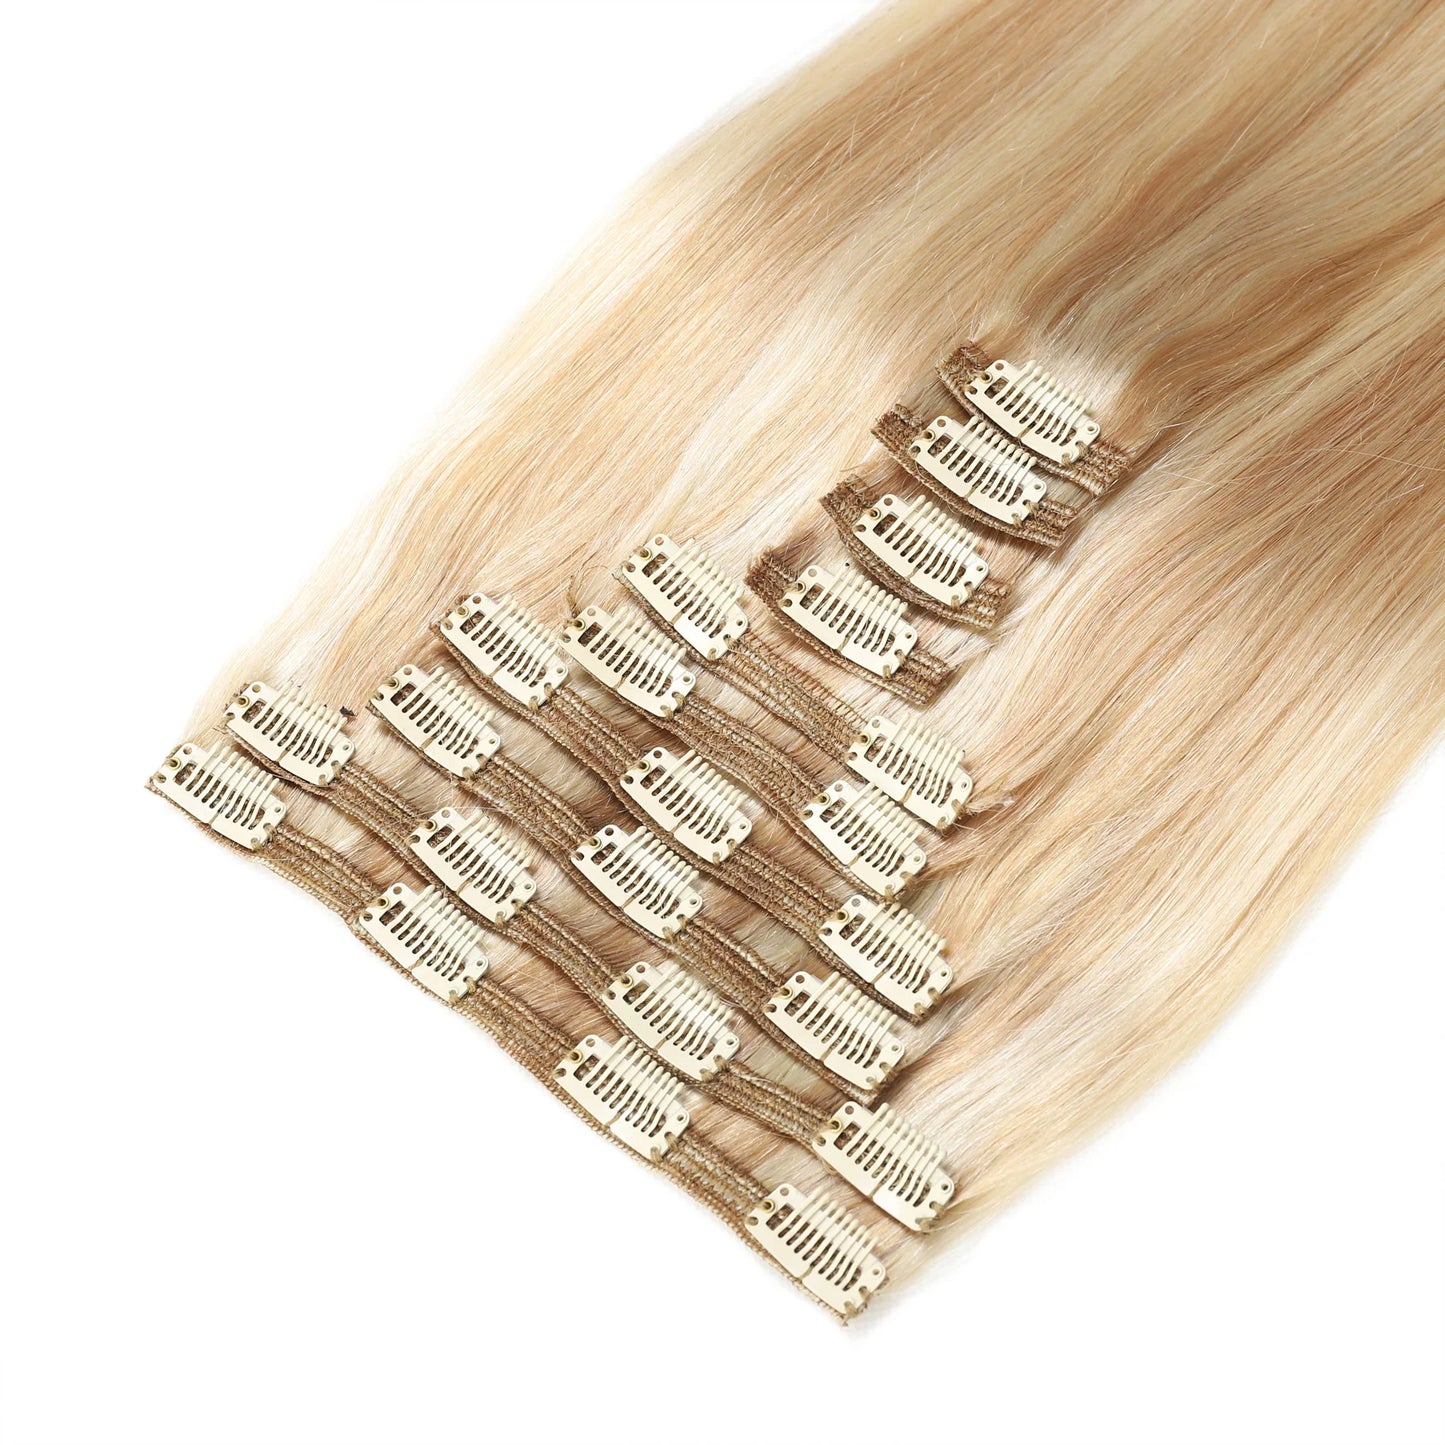
TWC 22 Inch Clip in Hair Extensions #18/60
TWC 22 Inch Clip in Hair Extensions #18/60
Couldn't load pickup availability
22-inch hair extensions are the perfect way to add length and volume to your hair without committing to a permanent change. These extensions are made from high-quality, 100% Remy human hair, ensuring a natural look and feel. They are easy to install and can be styled just like your own hair, so you can create a variety of different looks. Whether you want to add length for a special occasion or just want to switch up your style, 22-inch hair extensions are a great choice and provide the following
1. Volume Boost: Hair extensions can add thickness to thin or fine hair.
2. Instant Length: If you're having trouble growing your hair out, extensions can give you long hair instantly.
3. Color Change: Extensions allow you to experiment with color without damaging your natural hair.
4. Style Versatility: They provide more options for styling, especially for braids and updos.
5. Confidence Boost: A good hair day can make you feel great, and extensions can help achieve that look you desire.
GUIDE TO ATTACHING CLIP-IN EXTENSIONS
NECESSITIES: Tail Comb, Hair Clips (alligator clips, parting clips, color tools)
Preparation: Clean, dry, and brush your hair before starting. Organize your wefts by size for easy installation.
STEP 1: Separate your hair a few inches above your neck and clip the rest up. Tease the roots of the separated section. For fine hair, use hair spray for better grip.
STEP 2: Choose the right length extension and attach it to the separated section. Ensure the clips are secure and comfortable.
STEP 3: Unclip some hair and add another layer of extensions. Separate another section, tease the roots, and attach the next layer. Blend for a seamless look.
STEP 4: Repeat the steps until you've added all extensions. Leave enough hair on top to cover the layers. For the sides, use smaller extensions above the ear.
STEP 5: Once all extensions are attached, use a wide-tooth comb to...

